
In the fast-paced world of online content, attention is the most valuable currency. As a website owner, your biggest challenge isn’t just getting someone to click on your article—it’s about keeping them on it until the very last word.
Studies show that the average internet user skims content rather than reading it line-by-line. When faced with a long-form guide or a deep-dive tutorial, many readers feel a bit of “content fatigue.” They wonder: How much longer is this? Am I almost at the solution?
Enter the Reading Progress Bar. This amazing, sleek UI element sits at the top of the browser, filling up as the user scrolls. It provides instant visual feedback, turning reading into a progress-based “quest,” and reduces bounce rates.
While many WordPress plugins offer this feature, they often come with “code bloat”— unnecessary files that slow down your page speed and hurt your Google Core Web Vitals. In contrast, my tool uses a light-weight, highly compatable solution, offering customization, multiple styles, and more. And the best part is: it’s 100% free; no log-in or sign-up, no subscriptions, and just a tool that works.
Why Every Long-Form Blog Needs a Progress Bar
Before we dive into the “how,” let’s talk about the “why.” A progress bar is more than just “eye candy”; it is a psychological tool known as a Progress Indicator.
1. Reducing Cognitive Load
When a reader sees a massive scroll bar on the right side of their screen, it can be intimidating. A top-aligned progress bar is better. It maps the reader’s journey in their direct line of sight, making the content feel more manageable.
2. Gamifying the Reading Experience
There is a distict feeling of dopamine that comes from seeing a bar reach 100%. By providing this visual reward, you encourage users to finish the article, which increases your “Time on Page” metrics—an important signal to search engines that your content is high quality.
3. Professional Polish
Look at major publications like Bloomberg, The Verge, or Medium. They all use scroll indicators. Adding this feature to your WordPress site immediately elevates your brand and gives your blog a premium, custom-coded feel.
The “No-Plugin” Advantage
You might be wondering: Why not just install a plugin?
WordPress plugins are great, but every plugin you add introduces potential security issues and more HTTP requests. Many “Reading Bar” plugins load large JavaScript libraries simply to perform a simple calculation.
Our method uses Vanilla JavaScript. It is:
- Ultrafast: It loads in microseconds.
- Zero Conflict: It doesn’t mess up with your theme or other tools.
- Fully Customizable: You aren’t limited with the colors or styles the plugin developer chose.
Introducing the Advanced Reading Progress Bar
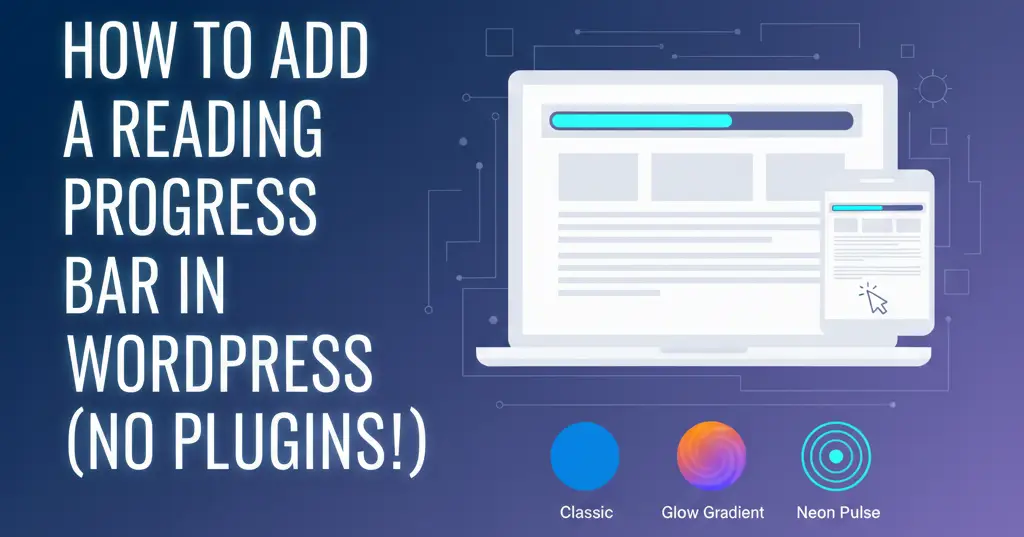
We aren’t just giving you a basic blue line. We have developed an Advanced Progress Bar Tool that allows you to choose between three unique aesthetics: Classic, Glow Gradient, and Neon Pulse.
Additionally, we’ve built-in “Pro Settings” that allow you to toggle visibility for mobile, tablet, and desktop users directly within the code.
Step 1: Choose Your Style and Copy the Code
Use the interactive code block below. Click through the style buttons to find the look that matches your site’s brand, then hit the clipboard icon to copy the code.
<!-- START READING PROGRESS BAR -->
<div id="reading-progress-container">
    <div id="reading-progress-bar"></div>
</div>

<script>
(function() {
    /* --- CONFIGURATION SETTINGS --- */
    const CONFIG = {
        offsetTop: "0px",    // Distance from top
        hideMobile: false,   // Set to true to disable on mobile
        hideTablet: false,   // Set to true to disable on tablet
        hideDesktop: false   // Set to true to disable on desktop
    };

    const container = document.getElementById("reading-progress-container");
    container.style.top = CONFIG.offsetTop;

    if (CONFIG.hideMobile) { container.classList.add("hide-on-mobile"); }
    if (CONFIG.hideTablet) { container.classList.add("hide-on-tablet"); }
    if (CONFIG.hideDesktop) { container.classList.add("hide-on-desktop"); }

    window.addEventListener("scroll", function() {
        const winScroll = document.body.scrollTop || document.documentElement.scrollTop;
        const height = document.documentElement.scrollHeight - document.documentElement.clientHeight;
        if (height > 0) {
            const scrolled = (winScroll / height) * 100;
            document.getElementById("reading-progress-bar").style.width = scrolled + "%";
        }
    });
})();
</script>

<style>
    #reading-progress-container {
        position: fixed;
        left: 0;
        width: 100%;
        height: 6px;
        background: transparent;
        z-index: 9999;
    }

    #reading-progress-bar {
        height: 100%;
        width: 0%;
        transition: width 0.15s ease-out;
        background: #2563eb;
    }

    /* Device Visibility Logic */
    @media (max-width: 599px) { .hide-on-mobile { display: none !important; } }
    @media (min-width: 600px) and (max-width: 1024px) { .hide-on-tablet { display: none !important; } }
    @media (min-width: 1025px) { .hide-on-desktop { display: none !important; } }
</style>
<!-- END READING PROGRESS BAR -->
Step 2: How to Install the Code in WordPress
Adding this to your site is simpler than you might think. You have two main options based on how where you want the bar to appear.
Option A: The “Per-Post” Method (Best for Long Articles)
If you only want the progress bar on specific long-form posts (or pages):
- Open your post in the Gutenberg Editor.
- At the very top of the page (above your first heading), add a Custom HTML Block.
- Paste the code you copied from our tool.
- Hit Preview—you should see the bar appear as you scroll!
Option B: The “Site-Wide” Method (Best for All Posts)
If you want every article on your site to have this feature:
- Navigate to your WordPress Dashboard.
- If your theme supports it, go to Appearance > Customize > Header/Footer Script.
- If not, install a lightweight plugin like “Code Snippets” or “Insert Headers and Footers.”
- Paste the code into the Footer section of your site. This ensures the bar loads after your main content, keeping your site speed lightning-fast.
Step 3: Customizing Your Configuration
Once you’ve pasted the code, look at the very top of the script. You will see a section labeled /* --- CONFIGURATION SETTINGS --- */. This is where you can truly make the tool your own.
Adjusting the Vertical Offset
Does your website have a “Sticky Header” (a menu that follows you down the page)? If so, the progress bar might get hidden behind your menu.
- The Fix: Change
offsetTop: "0px"to match the ., offsetTop: “60px”). This will move the bar just below your navigation menu.
Device Visibility Toggles
Sometimes, you might want a clean experience on mobile phones but a high-tech look on desktops.
- To Disable on Mobile: Simply change
hideMobile: falsetohideMobile: true. - The same logic applies to
hideTabletandhideDesktop.
Diving Into the Design: Which Style is Right for You?
The style you choose says a lot about your brand. Here is a breakdown of the three options included in our tool:
1. The Classic
This is a solid, reliable bar. It’s best for news sites, professional portfolios, and corporate blogs. It’s minimalist and doesn’t distract from the text.
- Pro Tip: Change the
#2563ebhex code in the CSS to your specific brand color.
2. The Glow Gradient
This style uses a three-color transition (Orange to Purple). It feels high-energy and modern. It’s perfect for lifestyle blogs, travel journals, or creative portfolios.
- Why it works: The soft outer glow makes the bar feel “liquid,” drawing the eye without being jarring.
3. The Neon Pulse
Designed for tech enthusiasts, gamers, and developers. This style uses a high-contrast Cyan (Neon Green) with a double-glow effect.
- Why it works: It mimics the look of a loading bar in a high-end software interface or a futuristic movie.
Frequently Asked Questions
No. Unlike plugins that load extra files, this is “inline” code. It is incredibly lightweight and uses native browser functions.
Yes! We’ve used standard CSS and JavaScript that is compatible with Chrome, Safari, Firefox, and Edge.
Absolutely. In the <style> section of the code, look for height: 6px;. Change that number to 3px for a thinner line or 10px for a thicker one.
Yes, the bar is fully responsive. You can also use the configuration settings in the code to disable it specifically for mobile or tablet screens if you prefer.
We use specific CSS IDs and Scoped JavaScript to ensure the progress bar operates independently, preventing conflicts with your WordPress theme styles.
Final Thoughts
Small details make the difference between a “good” website and a “great” one. By adding a reading progress bar, you are signaling to your readers that you value their time and their experience. You’re making your content more accessible, more engaging, and more professional—all without spending a dime on premium plugins.
Choose your style, copy the code, and give your WordPress site the upgrade it deserves today!